Compatibility
Minecraft: Java Edition
Platforms
Supported environments
90% of ad revenue goes to creators
Support creators and Modrinth ad-free with Modrinth+Creators
Details
Features
Library
- Rendering utils derived from Lodestone (by Sammy; and Lodestar, removed with 1.21.1)
- Cosmetics customization util: Made for my supporter cosmetics but can also be used out of the box for more general cosmetic mods who need simple customization
- Item custom hit sound and particle utils
- First person feature rendering util: Allows adding features that render on the player's hand in first person by implementing the
RendersArmInFirstPerson
interface in your feature renderer. - Custom model armor util: Allows adding armor with custom models with a single method call (and custom model), bypassing the requirements of making a model layer, feature renderer, mixins to inject said feature renderer into player and armor stand rendering, coding display conditions, etc... as well as automatically display said custom armor on a player's hands in first person. A usage guide can be found further down.
Additional Goodies
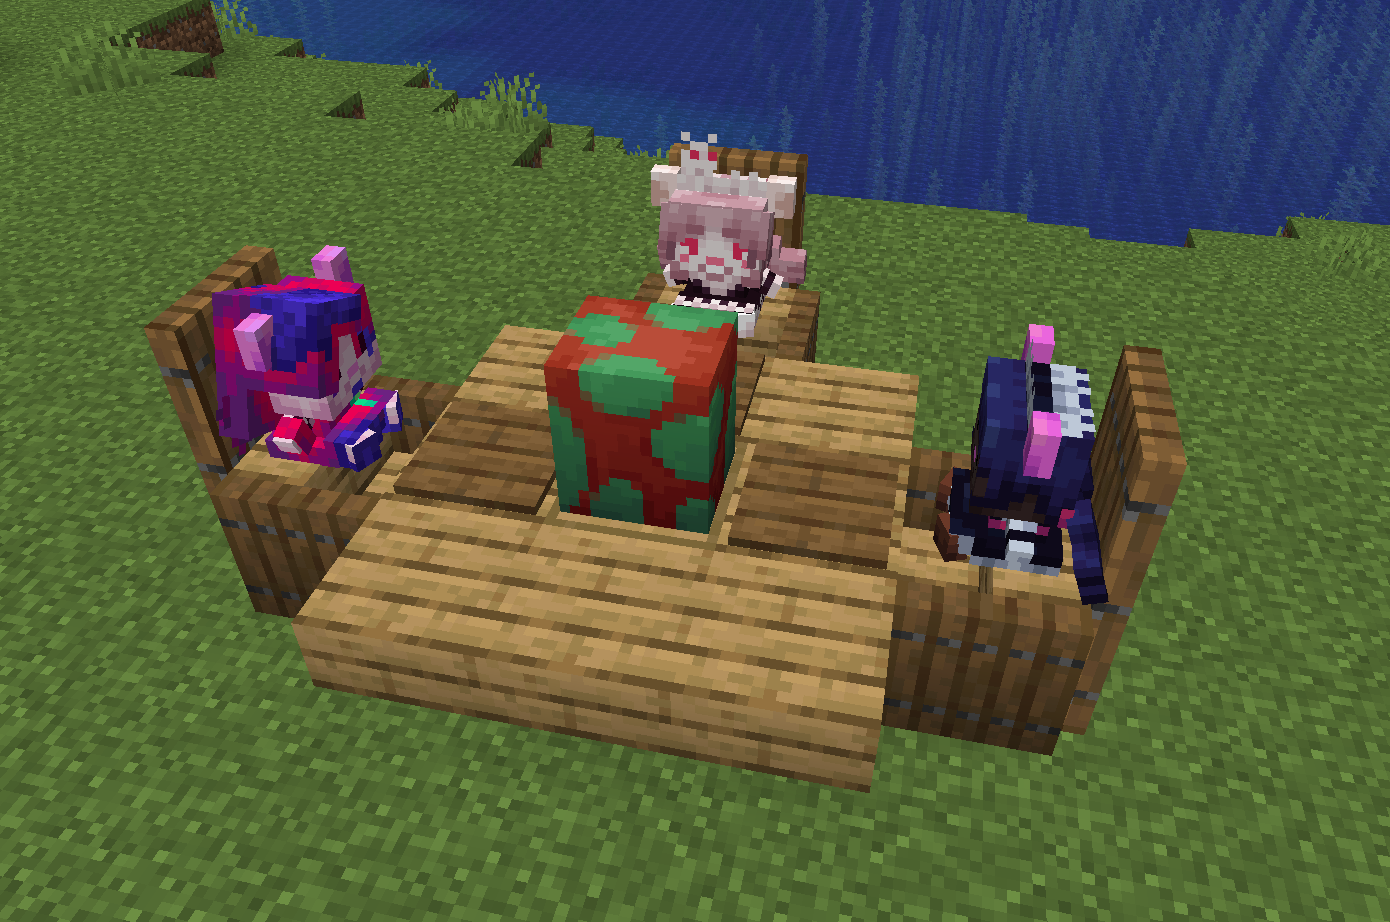
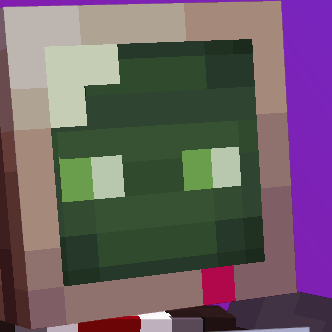
- RAT Plushies (Rat Maid, Folly and Mauve)
- Can be honked
- Noteblocks can be placed on top to play the plush's honk sound as the instrument
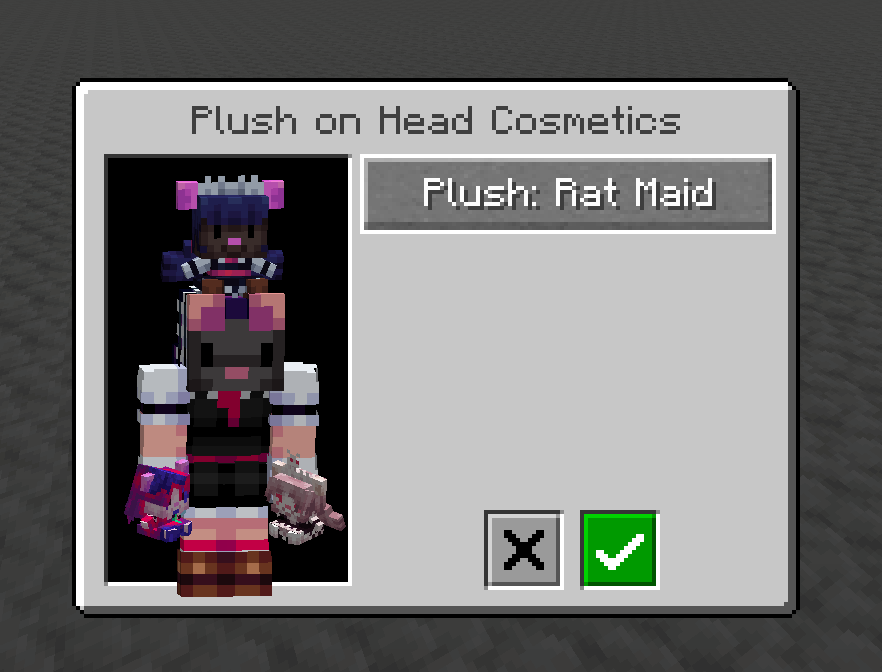
- Mobs can be given items and armor by interacting with them while in creative and sneaking with an item in hand. Hitting them in creative while sneaking with an empty hand will make them drop all their equipped items.
Supporter Cosmetics
- For Ko-Fi or YouTube members
- Icon next to your name as well as colored name
- Head plushies: Sneak-use any plush item while not aiming at a block to open the cosmetics screen
Gallery
Expand gallery
Documentation
Expand documentation
Custom model armor util
This util allows you to easily register new armor sets that use a custom model with a single method call (and that custom model as the game does need to know what you wish to render).
Step 1: Defining the model (client)
Before we can add our custom armor, we need a model that respects a few rules. You can find an armor template model (Blockbench model file) and texture in the RESOURCES
folder of the repository. While you can edit this model and texture freely in order to shape up the armor of your dreams, please note that the existing groups are very important and while you can add new sub-groups to them, you cannot and should not delete any existing group as they allow the library to know what should be displayed when a player (or armor stand or mob) dons armor pieces:
head
displays when the helmet item is equippedbody_chestplate
,right_arm
andleft_arm
display when the chestplate item is equippedbody_leggings
,right_leg_leggings
andleft_leg_leggings
display when the leggings item is equippedright_leg_boot
andleft_leg_boot
display when the boots item is equipped
Once you have finalized your model, you can export it with Blockbench: File -> Export -> Export Java Entity
. Open the generated Java class and copy the lines between ModelPartData modelPartData = modelData.getRoot();
and the line right before the return (included) in getTexturedModelData()
. Ratatouille adds a new model class type that simplifies armor model definition called CustomArmorModelDefinition
; extend that class and implement the addModelParts
method by pasting the snippet you copied from the generated model class. Then implement getTexture()
; the simplest way to do so is to have a static Identifier for your armor texture in your Model Definition class and return that, but if you wish to do a special logic that varies the returned texture you can naturally do so as well.
Step 2: Registering the items (common)
This part is the most straightforward: register your armor items as you would normally, but use CustomRenderArmorItem
instead of the regular Vanilla ArmorItem
class. This is to tell the library to cancel the game's Vanilla armor rendering for your armor items; otherwise, the game will render a missing texture over the Vanilla armor model.
If your armor item uses a custom item class and not the regular Vanilla ArmorItem
class, all you have to do is simply make your custom armor item class implement the Ratatouille CustomRenderArmor
interface.
Step 3: Registering the custom armor with Ratatouille (client)
The last step is to register your custom armor rendering in your client initialization. Call CustomModelArmorUtil.registerCustomArmor
and give it the required parameters:
Identifier id
: The id of the custom armor. This is used in order to automatically generate and register the model layer of your armor, it should therefore be unique.CustomModelArmorUtil.SetItems setItems
: The items that comprise your set. TheCustomModelArmorUtil.SetItems
record defines the helmet, chestplate, leggings and boots items and by default indicates to the renderer what to display depending on what is equipped. If you wish to have a custom logic for displaying different pieces that is not just checking whether the item is being worn, you can extend this record and override the fourshouldDisplay
methods.CustomArmorModelDefinition armorModelDefinition
: The model definition we created in Step 1, simply create a new instance of it.int textureWidth, int textureHeight
: The armor's texture width and height.
Registering your armor through this method call will take care of everything for you, like creating the textured model data, model layer and appending the feature to the player / armor stand / mob renderers. If you need to access the model data or model layer of the armor, you can find them in the CustomModelArmorUtil.CUSTOM_ARMOR_MODELS
HashMap by using the armor's setItems
as the key.